Twine Storytelling
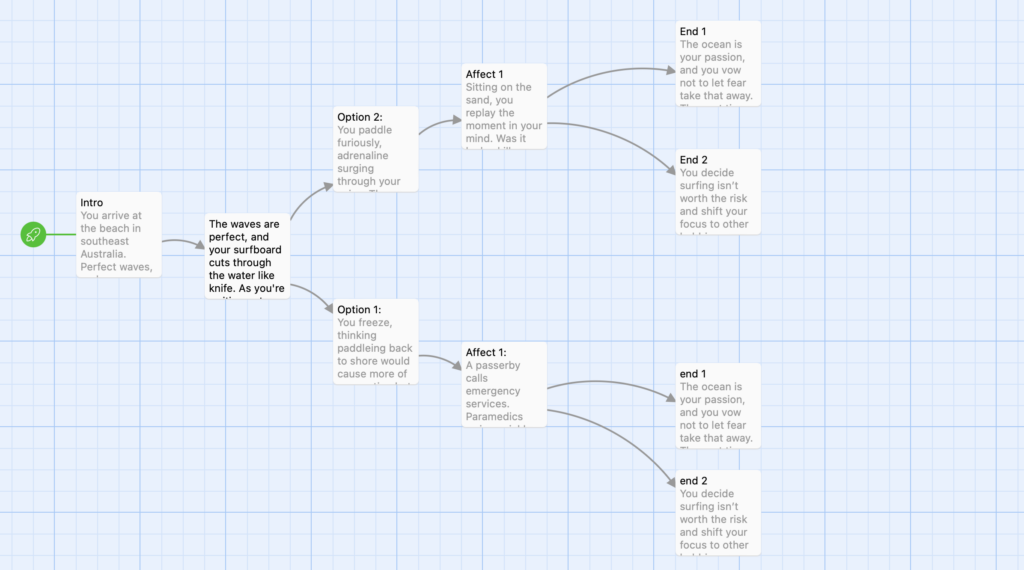
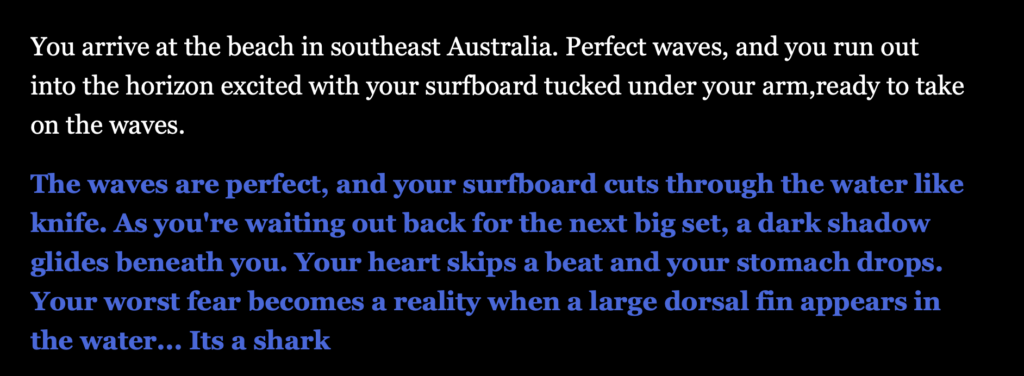
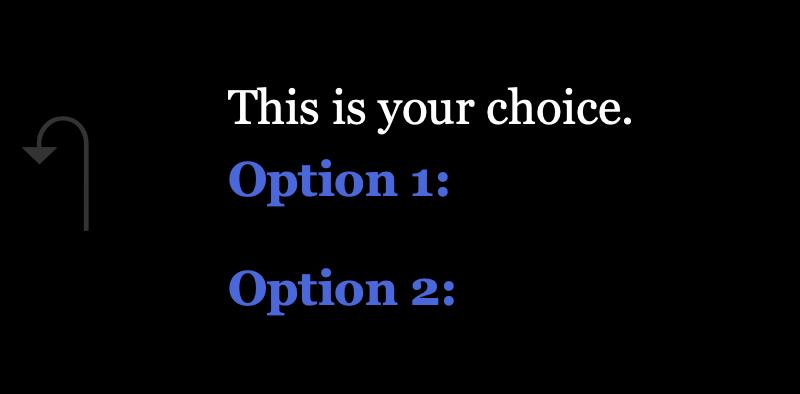
A branched narrative, like this one I created in Twine, provides learners with an engaging and interactive way to explore choices and have active participation. It mirrors real-life decision-making by allowing them to take control of the story’s direction and experience multiple outcomes based on their actions. This fosters critical thinking, problem-solving, and creativity as learners must evaluate options, and understand the impact of their choices.


Storyboard & Script for Short Video
Script
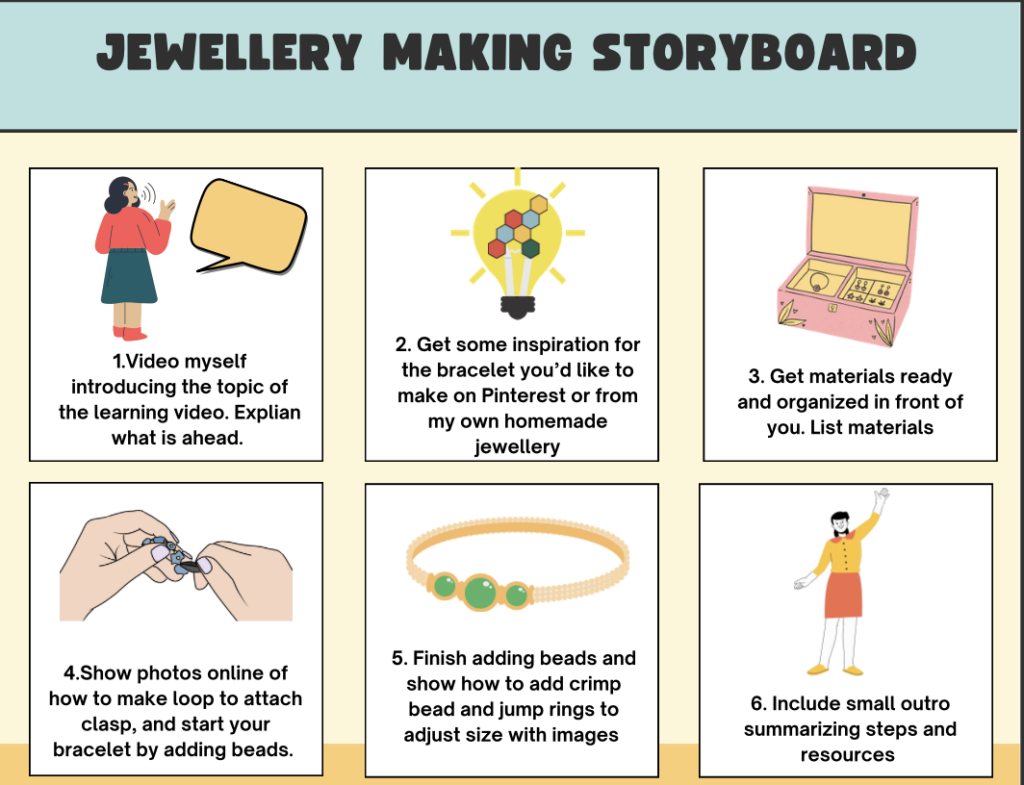
Hi everyone! Welcome to today’s jewelry-making tutorial, where I’ll show you how to create your own beautiful bracelet from scratch. If you’re new to this or need a bit of creative direction, start by getting some inspiration. Check out Pinterest for ideas on bead arrangements, and styles. I will show you guys my own homemade jewellery collection to give you some inspiration of what pieces you can be making yourself in no time! Before we dive in, let’s gather everything we’ll need. Beading wire, crimp beads, jump rings, clasps, decorative beads, charms, scissors and pliers.Let’s get started! First, cut a piece of beading wire about 4 inches longer than your wrist size. Thread one end of the wire through a crimp bead and then through the loop of your clasp. Fold the wire back into the crimp bead, then use pliers to secure it tightly. This creates a strong, secure base for your bracelet. (show images online of this so it is easy and clear to see what is happening). Now for the fun part—beading! Choose the pattern or design that you like. Follow the pattern as you thread each bead onto the wire. Don’t be afraid to add charms or spacer beads for variety! This part can be super relaxing, so feel free to put on some music and enjoy the process. (Show an online image of how to close the bracelet using crimp beads and a clasp.)
Once you’ve added all your beads, leave about an inch of wire at the end. Slide on a crimp bead, then thread the wire through the other part of your clasp. Fold the wire back into the crimp bead and secure it tightly with your pliers. Trim any excess wire for a clean finish. Give your bracelet a light tug to ensure everything is secure. And that’s it—you’ve made your own custom bracelet! I hope you loved this creative process as much as I do. If you’re looking for supplies, check out local craft stores like Michaels, or explore online options like BeadFX and John Bead. Thanks so much for watching, now go try making your own bracelet! (Wave at the camera and show the finished bracelet up close.)
Jewellery Making Tutorial
Capturing video away from the screencast was both an exciting and challenging experience. It felt more personal to incorporate live footage, especially when showing the jewelry-making process up close. However, talking in front of the camera was one of the most challenging parts. Staying natural and engaging while explaining the steps was harder than expected, even though I was explaining a task I was very comfortable with. I chose to include photos from online of the crimp beads and wire so it was easier to understand the steps with clear, up close images. I thought it was better this way than filming myself making a bracelet because my camera would not zoom in close enough to properly see what I was doing.
Next time, I’d try getting a friend to film me so the camera is more focused on what my hands are doing, ensuring viewers can clearly see each step of the process. I’d experiment with lighting to make sure every detail of the jewelry and tools is easy to see. I also would practice my script more so I felt more natural speaking in front of the camera.


One response to “Module 5: Storytelling and Creating Video”
Hello Lauren, I like how simple and easy your tutorial on how to do a cartwheel is. It is very straight forward and the breaking down of each step allows for whoever watching your video to follow along and ultimately perfect it. Your Twine story is also allows for ample engagement, I enjoyed following the prompts all the way to the end.