Multi Media Learning

Category: Multimedia Learning

Module 5: Storytelling and Creating Video

Twine Storytelling

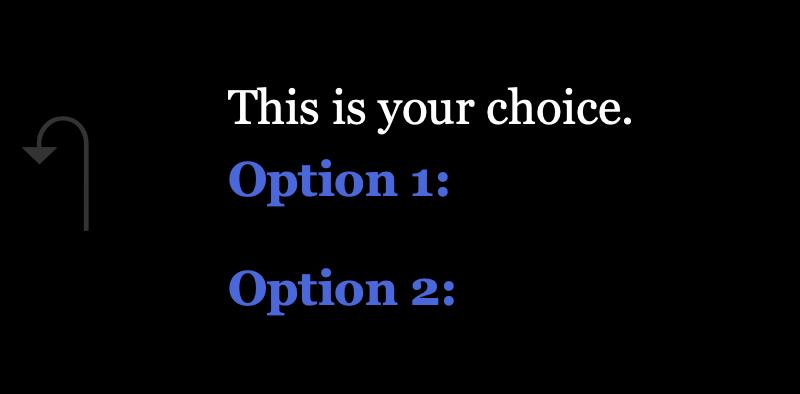
A branched narrative, like this one I created in Twine, provides learners with an engaging and interactive way to explore choices and have active participation. It mirrors real-life decision-making by allowing them to take control of the story’s direction and experience multiple outcomes based on their actions. This fosters critical thinking, problem-solving, and creativity as learners must evaluate options, and understand the impact of their choices.
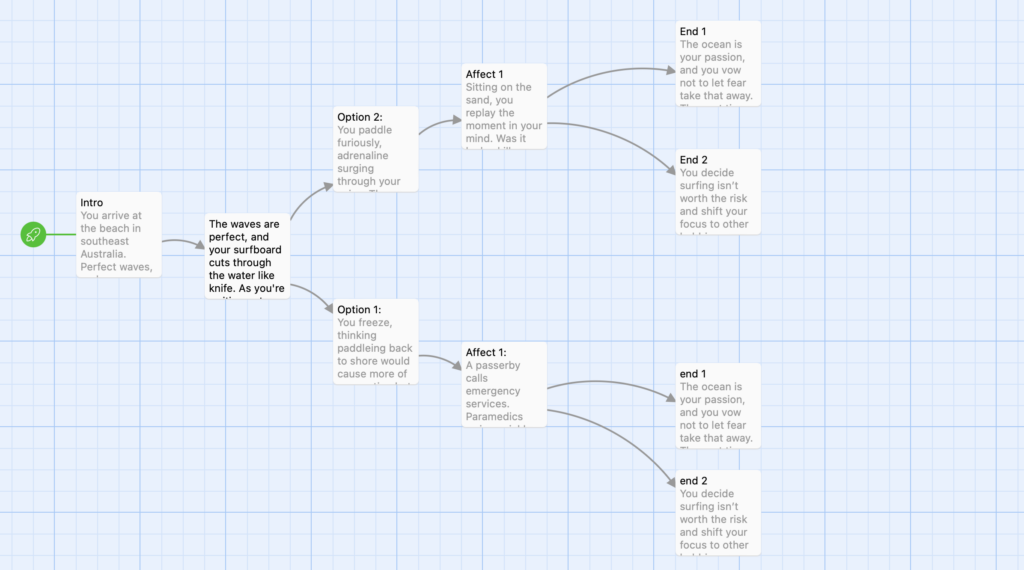
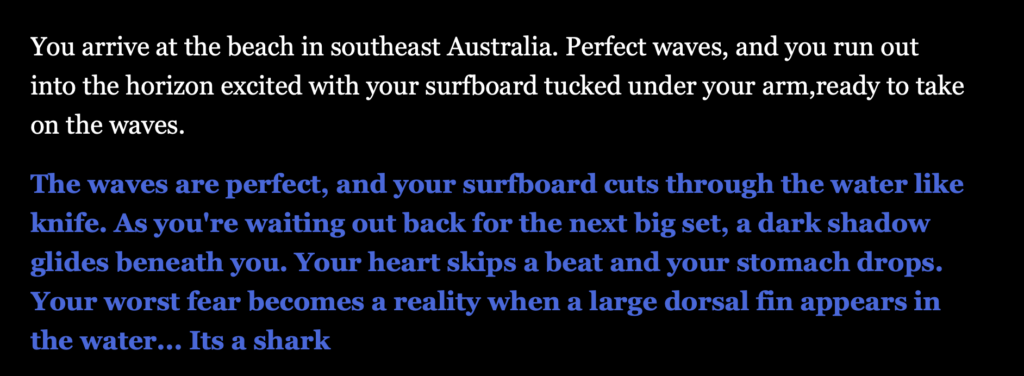
Option 1:
Option 1, Affect 1
Option 2
Option 2, Affect 1
End 1 for option 1 or 2
End 2 for option 1 or 2

Storyboard & Script for Short Video
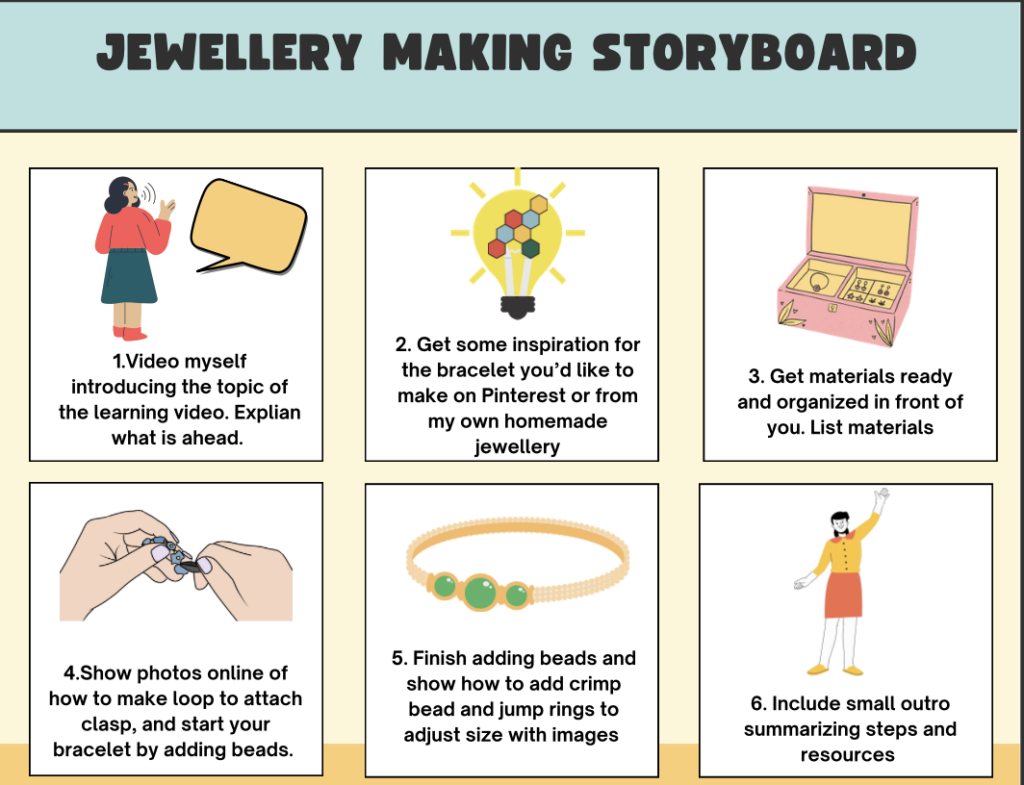
Script

Hi everyone! Welcome to today’s jewelry-making tutorial, where I’ll show you how to create your own beautiful bracelet from scratch. If you’re new to this or need a bit of creative direction, start by getting some inspiration. Check out Pinterest for ideas on bead arrangements, and styles. I will show you guys my own homemade jewellery collection to give you some inspiration of what pieces you can be making yourself in no time! Before we dive in, let’s gather everything we’ll need. Beading wire, crimp beads, jump rings, clasps, decorative beads, charms, scissors and pliers.Let’s get started! First, cut a piece of beading wire about 4 inches longer than your wrist size. Thread one end of the wire through a crimp bead and then through the loop of your clasp. Fold the wire back into the crimp bead, then use pliers to secure it tightly. This creates a strong, secure base for your bracelet. (show images online of this so it is easy and clear to see what is happening). Now for the fun part—beading! Choose the pattern or design that you like. Follow the pattern as you thread each bead onto the wire. Don’t be afraid to add charms or spacer beads for variety! This part can be super relaxing, so feel free to put on some music and enjoy the process. (Show an online image of how to close the bracelet using crimp beads and a clasp.)
Once you’ve added all your beads, leave about an inch of wire at the end. Slide on a crimp bead, then thread the wire through the other part of your clasp. Fold the wire back into the crimp bead and secure it tightly with your pliers. Trim any excess wire for a clean finish. Give your bracelet a light tug to ensure everything is secure. And that’s it—you’ve made your own custom bracelet! I hope you loved this creative process as much as I do. If you’re looking for supplies, check out local craft stores like Michaels, or explore online options like BeadFX and John Bead. Thanks so much for watching, now go try making your own bracelet! (Wave at the camera and show the finished bracelet up close.)

Jewellery Making Tutorial

Capturing video away from the screencast was both an exciting and challenging experience. It felt more personal to incorporate live footage, especially when showing the jewelry-making process up close. However, talking in front of the camera was one of the most challenging parts. Staying natural and engaging while explaining the steps was harder than expected, even though I was explaining a task I was very comfortable with. I chose to include photos from online of the crimp beads and wire so it was easier to understand the steps with clear, up close images. I thought it was better this way than filming myself making a bracelet because my camera would not zoom in close enough to properly see what I was doing.

Next time, I’d try getting a friend to film me so the camera is more focused on what my hands are doing, ensuring viewers can clearly see each step of the process. I’d experiment with lighting to make sure every detail of the jewelry and tools is easy to see. I also would practice my script more so I felt more natural speaking in front of the camera.
One response to “Module 5: Storytelling and Creating Video”

  1. princess33 Avatar
    princess33

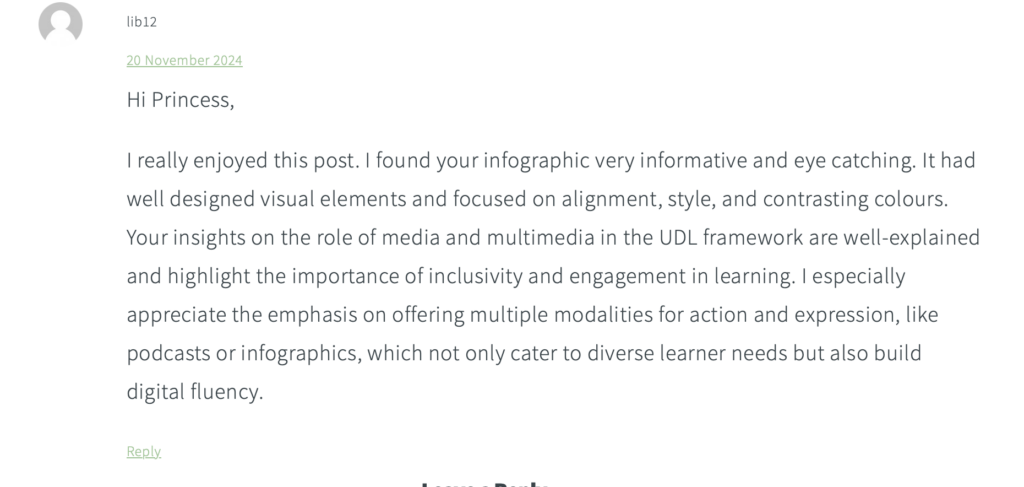
    Hello Lauren, I like how simple and easy your tutorial on how to do a cartwheel is. It is very straight forward and the breaking down of each step allows for whoever watching your video to follow along and ultimately perfect it. Your Twine story is also allows for ample engagement, I enjoyed following the prompts all the way to the end.

Module 4: Design Principles for Effective and Accessible Multimedia

WAVE Accessibility Check

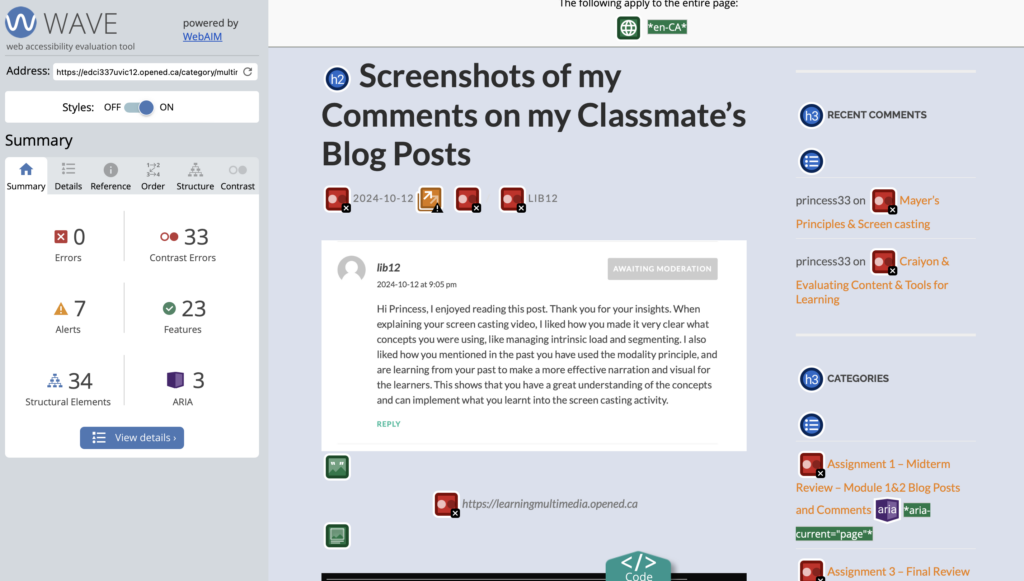
Figure 1: Screenshot of WAVE accessibility report on my website

After completing the WAVE accessibility check I was surprised by how many different elements there was to evaluate the accessibility of my Website and just how quickly WAVE was able to access my website and also provide me with the code of it. The main thing I found after the report was the amount of contrast color errors I had in my website. It did make me realize that I could definitely use different contrasting colours to enhance my website so am I going to switch my theme to new colours that have a higher contrast.

Canva Infographic

Figure 2: Canvas Infographic “The Crisis of Animal Abandonment in Ontario”

I followed the six promising practices for creating an infographic design. I limited my color palette, only using high contrasting colors, dark navy, and white, and yellow for the design appeal. I kept my imagery simple, only adding in some photos of animated dogs to fill in some space. I was consistent with style choices, and kept some white space instead of just filling it with unnecessary images. I used two fonts, one for headings, and one for my textbox. I also kept the same font size for each heading, and each textbox. I found a template I liked on Canva and then took inspiration from it and resigned the shapes, and fonts, removed images and implemented my own but still kept the existing layout. By using a template I find it is easier to start the infographic and get information down, but it can also make it harder to keep simple, as I found myself keep wanting to add more little touches to make it more “my own”.

Accessibility for Learners with Visual Impairments


To ensure learners with visual impairments have equal access to infographic content in an online setting, several modifications can be implemented. Adding detailed alternative text (alt text) for all visual elements allows screen readers to convey the information effectively. Providing a plain-text version summarizing the infographic ensures accessibility for those who cannot interpret visual content. High-contrast color schemes should be used for readability, avoiding reliance on color alone to convey meaning. Descriptive captions for charts or images and simplified text enhance clarity. For online formats, interactive audio descriptions or voiceovers can narrate the infographic’s content. Below all of these design principles is the recognition that disability isn’t a lack of ability, it’s a mismatch between a person’s abilities and their environment (Holmes, 2019). These measures collectively make infographics inclusive and accessible to all learners.

My Comment on Classmates Blog

One response to “Module 4: Design Principles for Effective and Accessible Multimedia”

  1. princess33 Avatar
    princess33

    This is a great reflection on accessibility and design principles! It’s impressive how you’re applying insights from the WAVE report to improve contrast on your website—those changes will definitely enhance usability. Your infographic design process sounds thoughtful and methodical, especially with your focus on high contrast, consistency, and simplicity. I also appreciate the emphasis on accessibility for learners with visual impairments; your suggestions like alt text, captions, and audio descriptions show a strong commitment to inclusivity. Well done!

Module 3: Principles of Learning Design & Active Learning

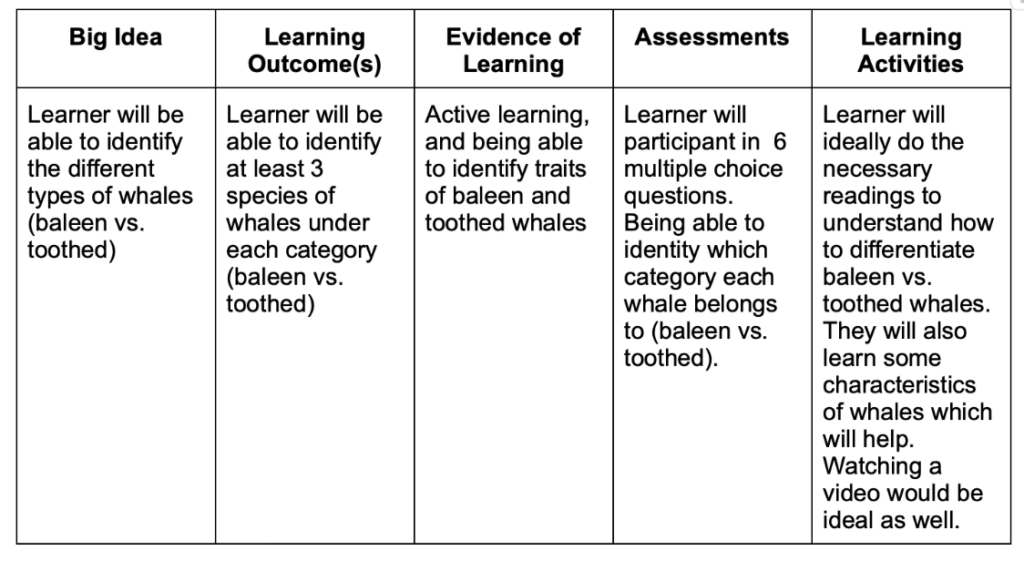
In this module I explored the benefits of active learning and exploring some of the ways that multimedia can support these activities such as H5P. I used the concept of Backward Design to plan my lesson with my intended outcomes and prepare students for the assessments. Then I showed my H5P multiple choice exercise for students to participate in active learning and engage with the topic with higher order thinking skills.

Lesson Plan Design – Differentiate Whale Species

HP5 Interactive Learning Object

Constructive Alignment and Backward Design​​

Both these concepts are relevant in most of my courses. At the beginning of most of my lectures, (or in this courses case, the beginning of the module) my professor provides a clear list of the learning outcomes for this specific unit or module. I find this really helps me be able to focus on what I should intend to learn from the lecture and what to focus on. I also use the concept of backward design when I am about to start a project or essay. I like to read the grading rubric first to get a sense of what is expected of me for the assignment, from there I can focus on how to achieve the expected outcomes.

Experience with HP3

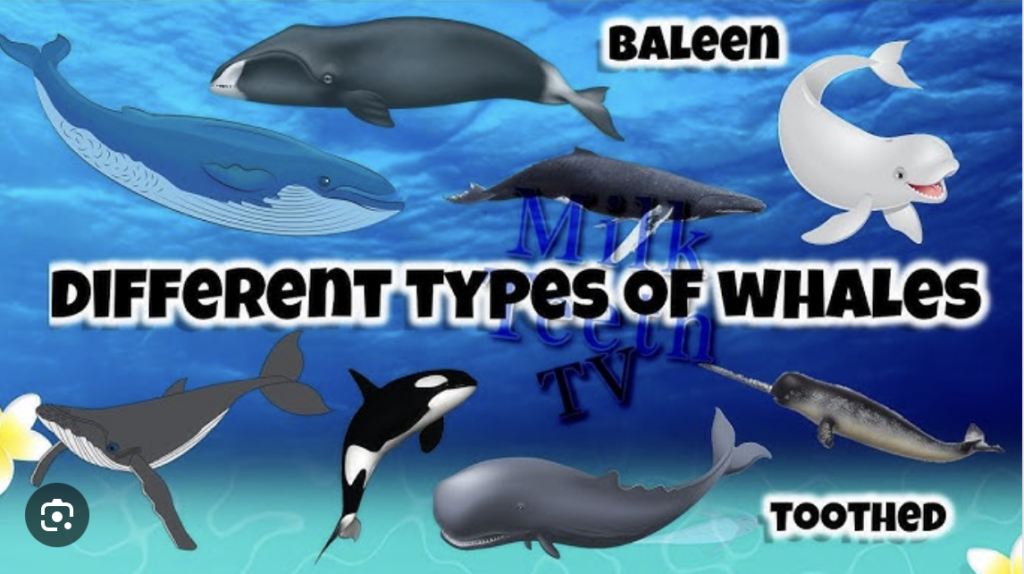
I had a great experience with H5P. I was very impressed with the amount of different teaching activities they had, from interactive video, multiple choice, image hotspots, fill in the blank, timelines and several more. They had different activities depending on if you wanted an activity for a formative assessment, problem solving, language or conceptual learning. I would definitely like to explore H5P more in the future. I found specifically for my teaching context multiple choice was the perfect fit. It was obvious the multiple choice options were either toothed or baleen but I did not want to use an activity that used an image because using an image of a specific whale could possibly give away what the correct answer was. By using the multiple choice activity students were pushed to use their memory of what they learned on characteristics of each specific whale.

Conclusion

This module deepened my understanding of active learning and how tools like H5P can enhance engagement and higher-order thinking. By using Backward Design, I effectively aligned lesson outcomes with assessments, and preparing students to meet objectives. This experience has motivated me to further explore multimedia tools to create engaging and impactful learning activities.

My Comment on my Classmate’s Module 3 Blog Post

One response to “Module 3: Principles of Learning Design & Active Learning”

  1. princess33 Avatar
    princess33

    Hi Lauren,
    Great post! I love how you highlighted the use of Backward Design to align your learning objectives with assessments—it’s such an effective strategy. Your experience with H5P sounds exciting, and I agree that tools like this can really boost engagement and critical thinking. The way you tailored the activity to avoid giving away answers while encouraging deeper learning is impressive. Looking forward to seeing more of your innovative ideas

Craiyon & Evaluating Content & Tools for Learning

Craiyon

For this module I decided to explore the generative AI tool Craiyon. I use LLMs like ChatGBT on occasion for creative inspiration when working on personal projects/artistic hobbies, but have never really explored other types of generative AI tools, like the ones listed in module two. Craiyon would be great for educators, and visual learners.

Craiyon’s Unlimited Image Generation

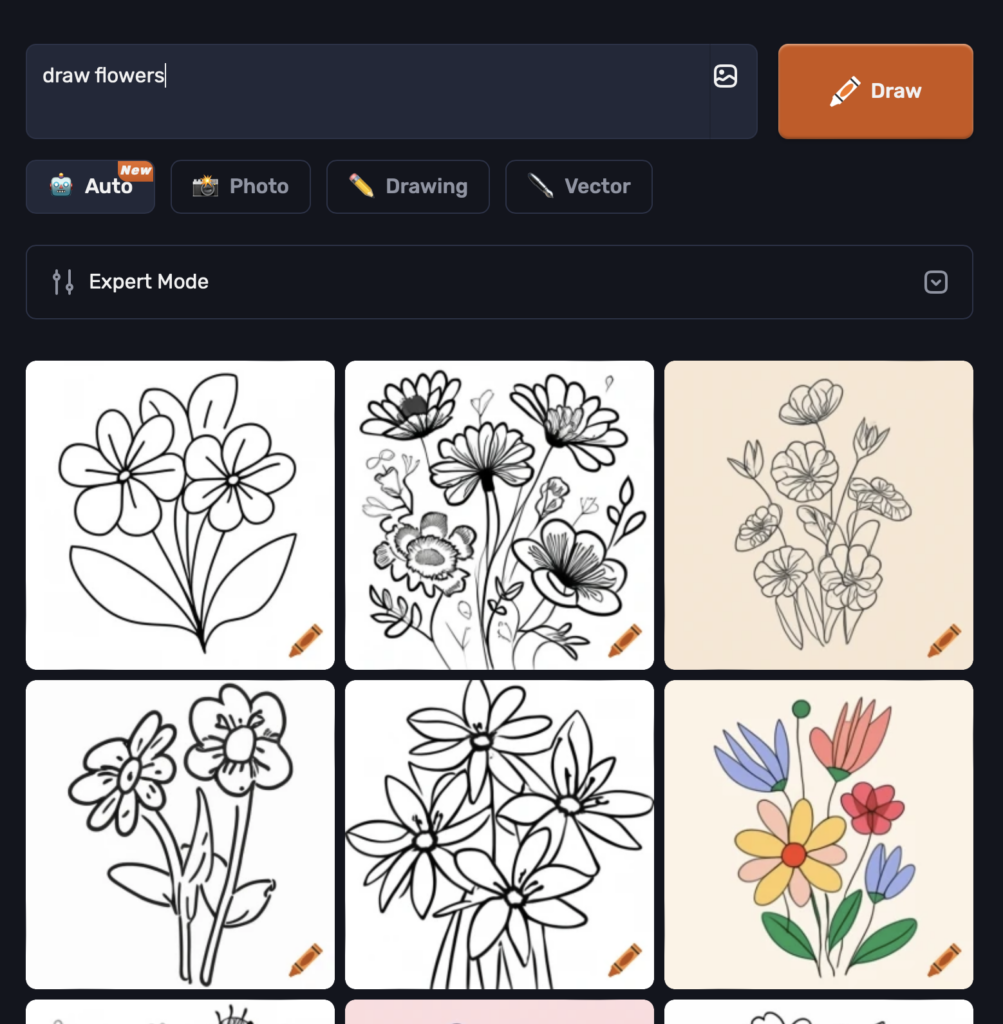
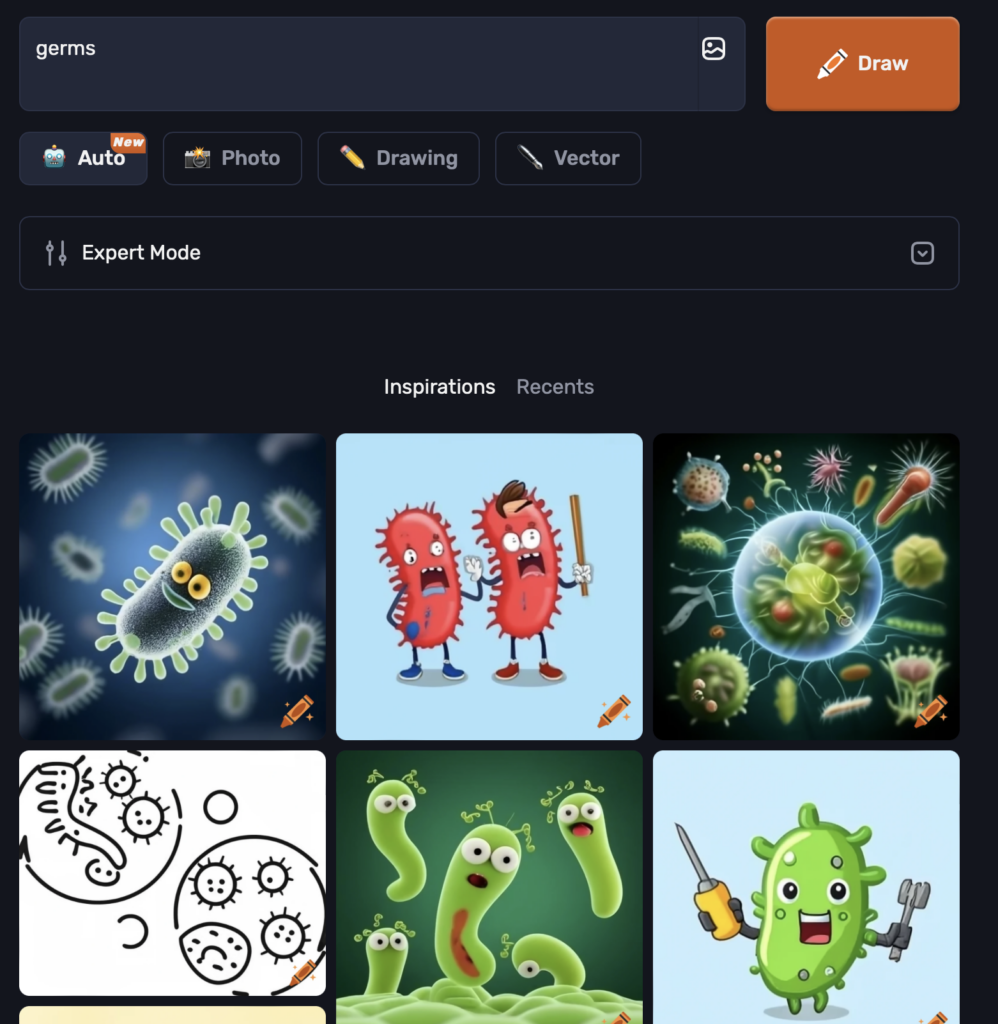
When using ChatGBT I sometimes would generate images, although would get frustrated because I could only generate three free images per day. For this reason, I found Craiyon useful because I could generate as many free images as I wanted and the AI tool would also give me a bunch of inspiration photos at the bottom of the page I could use to make my next image prompt if I wanted. 

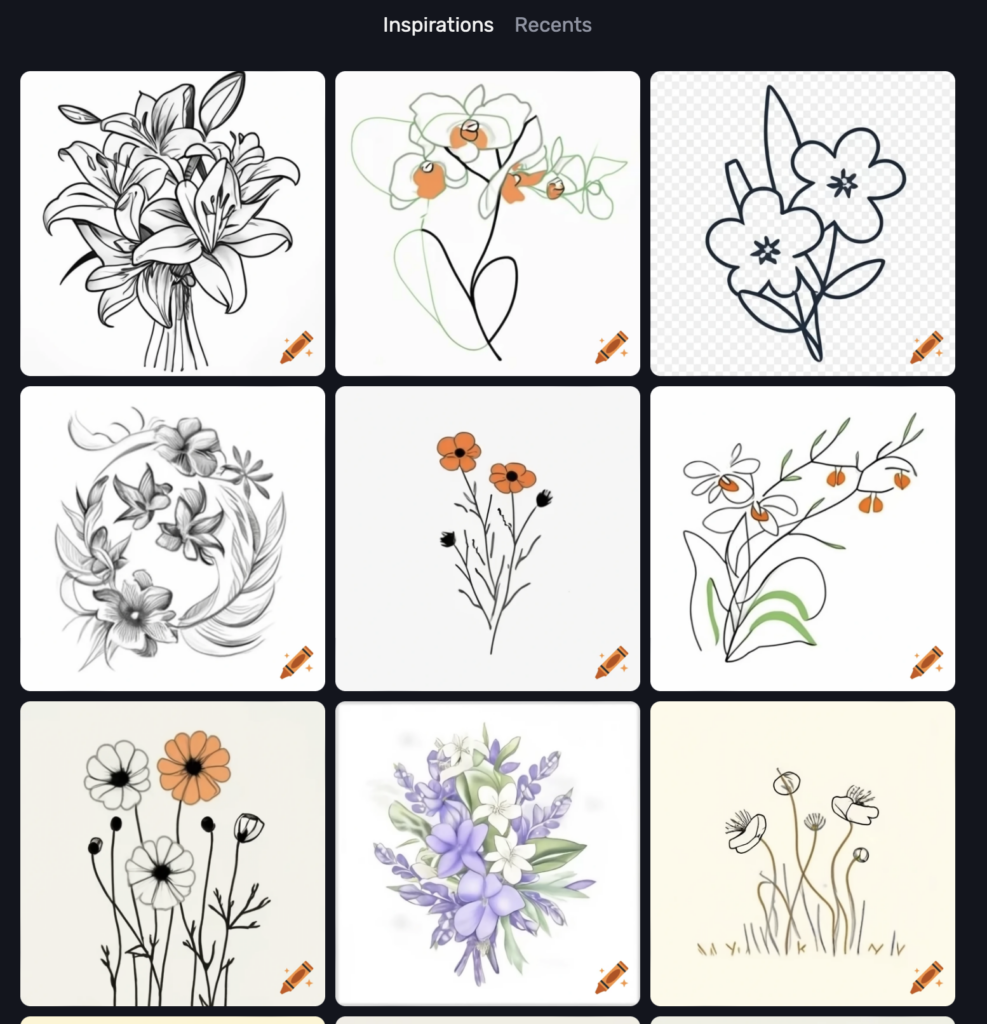
Generate Drawings
Inspiration Generated Drawings

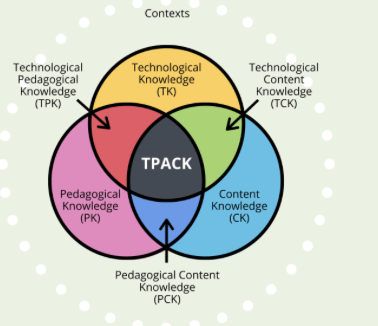
TPACK analysis of Craiyon’s functions

  1. Technological Knowledge (TK): Craiyon is an AI-based image generator, previously called DALL-E Mini. It utilizes machine learning to generate images from text prompts. User’s of this tool should have basic technological literacy and can craft prompts that the system can understand. For artistic uses, using the generated images as inspiration and brainstorming is most helpful. 
  2. Pedagogical Knowledge (PK): Teachers using Craiyon can integrate it into visual learning strategies that can inhance creativity, stimulate imagination and help understand concepts. Craiyon can help support students in subjects like science, art, or literature. Teachers must understand how to use Craiyon effectively within lesson plans.
  3. Content Knowledge (CK): This refers to a teacher’s ability to integrate Craiyon into their work. For example, in science Craiyon might be used to visualize concepts like space, and in art Craiyon might be used to create inspiration or prompts of drawing ideas.
  4. Technological Pedagogical Content Knowledge (TPACK): Using Craiyon within the TPACK framework means that teachers know how to combine the technology (Craiyon), pedagogy (teaching strategies), and content knowledge (subject matter) into a class. When these three aspects are combined perfectly, Craiyon can be a great educational tool.

Reflection on TPACK Analysis

While all the information from this analysis was very beneficial, TPACK itself was the hardest to assess because it is a interaction of all three domains (technology, pedagogy, and content). After having a good understanding on each of the separate domains, then I could assess TPACK.

The analysis of Craiyon as a learning tool reveals that it can engage visual learners, promote creativity, and is versatile across all subjects.  Although, I believe the images lack accuracy and quality. Some of the prompts I put in like (photosynthesis), lead to a misunderstanding and mis-use of images. The quality of images I could generate off ChatGBT were a lot more detailed and better quality than the images off Craiyon. Craiyon would be a great learning tool for early primary school educators who would not be teaching any complex subjects.

References

Craiyon. (n.d.). [AI Generated Image of Germs]. Retrieved [October 11th, 2024], from https://www.craiyon.com

Craiyon. (n.d.). [AI Generated Image of Draw Flowers]. Retrieved [October 11th, 2024], from https://www.craiyon.com

OpenAI. (2024). ChatGPT (v2.0) [Large language model]. Craiyon TPACK analysis. Retrieved October 11, 2024, from https://openai.com/chatgpt

Mayer’s Principles & Screen casting

Mayer’s Cognitive Theory of Multimedia Learning focuses on how people learn from both words and pictures, and it’s key principles are great tools for teachers to incorporate when teaching.

Dual Coding

Out of all of the principles of cognitive theory of multimedia I looked at, dual coding theory was the one I resonated with the most. This theory suggests that we have two distinct channels through which we can process information at the same time. We have a visual channel used for processing images, diagrams, videos and written text, and we have a auditory chanel that processes spoken words and sounds.

 Personally for me when learning, I find it very useful to be able to connect what I am verbally learning to an image or video. For instance in my art therapy exercise, I explained how to use Pinterest to make your vision board while also using images on the app to show how to do the task. This way the learner will use their visual channel and auditory channel.

Cognitive Load Theory

The principle that surprised me the most was cognitive load theory. This theory proposes that different types of memory have limited capacities. Overloading these capacities leads to inefficient learning. I didn’t realize that this was a legitimate theory, although it does make sense. I have experienced this firsthand when having to read 40 page chapter’s for homework, and retain the information. I feel as if I can barley retain any of the information and feel overwhelmed. Now I realize this is because I am overloading my memory which leads to my ineffective learning. Something to stay away from doing while teaching.

I kept in mine this principle when screencasting because in my art therapy exercise I made sure to talk about the key aspects and reasoning of the exercise without overwhelming the learners to a point it was too much to retain all that was said. 

Screencasting – Zoom

For my art therapy exercise I was screencasting using Zoom. This way my learners could see myself speaking and also visually see how to create a vision board using Pinterest.

Welcome and Introduction

Before proceeding with this first blog post, we expect you to consider your privacy preferences carefully and that you have considered the following options:

  1. Do you want to be online vs. offline?
  2. Do you want to use your name (or part thereof) vs. a pseudonym (e.g., West Coast Teacher)?
  3. Do you want to have your blog public vs. private? (Note, you can set individual blog posts private or password protected or have an entire blog set to private)
  4. Have you considered whether you are posting within or outside of Canada? This blog on opened.ca is hosted within Canada. That said, any public blog posts can have its content aggregated/curated onto social networks outside of Canada.

First tasks you might explore with your new blog:

  • Go into its admin panel found by adding /wp-admin at the end of your blog’s URL
  • Add new category or tags to organize your blog posts – found under “Posts” (but do not remove the pre-existing categories or sub-categories).  If you would like to add more course categories, please do so (e.g., add EDCI 306A with no space for Music Ed, etc.)
  • See if your blog posts are appearing on the course website (you must have the course categories assigned to a post first and have provided your instructor with your blog URL)
  • Add pages
  • Embed images or set featured images and embed video in blog posts and pages (can be your own media or that found on the internet, but consider free or creative commons licensed works)
  • Under Appearance,
    • Select your preferred website theme and customize to your preferences (New title, etc.)
    • Customize menus & navigation
    • Use widgets to customize blog content and features
  • Delete this starter post (or switch it to draft status if you want to keep for reference)

Do consider creating categories for each course that you take should you wish to document your learning (or from professional learning activities outside of formal courses). Keep note, however, that you may wish to use the course topic as the category as opposed to the course number as those outside of your program would not be familiar with the number (e.g., we use “Multimedia Learning” instead of “edci337).

Lastly, as always, be aware of the FIPPA as it relates to privacy and share only those names/images that you have consent to use or are otherwise public figures. When in doubt, ask us.

© 2025 edci337uvic12

Theme by Anders NorenUp ↑